Fixing Bad Audio in Post: Tools & Techniques
On set, the focus is almost always on getting the best shot. Sound is often an afterthought, leading to the dreaded phrase: “We’ll fix it in post.” While this keeps production moving, it almost always costs the producers big money later.
So, let’s talk about seven ways to fix bad audio left for post.
1. Get It Right on Set

The best way to avoid fixing audio in post is to capture it correctly the first time.
Use multiple high-quality microphones on your actors:
Each actor should have a lavalier mic, discreetly hidden in their clothing or hair. Even if it’s not the primary mic, it serves as a solid backup or ADR guide track.
A boom mic should always be recording just outside the camera frame. Often, boom mics capture the most natural and usable sound due to the room’s acoustics.
Pro-Tip: Always record 30 seconds of room tone before shooting. This silent recording can be used later to patch bad production sound.
2. Match Audio Between Cuts
When editing, you’ll likely cut between different takes or switch between the boom and lav mic. This can cause noticeable shifts in EQ and reverb. Here’s how to fix it:
Tool 1: EQ Match
EQ matching balances tonal differences between mics by analyzing and applying the timbre from one recording to another.
Recommended tools:
iZotope RX – EQ Match Module
FabFilter Pro Q4
Supertone Air
Tool 2: Reverb Match
Reverb matching helps maintain consistency in space reflections when switching between mics.
Recommended tools:
Accentize Chameleon 2
Supertone Air
These tools are powerful but can be expensive. If you’re on a budget, you’ll need to rely on traditional EQ and reverb settings manually. If you don't feel up to the challenge, a pro can do this easily.
3. Control Volume Dynamically
Tool 3: Volume Automation
Volume automation is one of the simplest, most precise ways to control audio. It allows you to adjust levels over time, making dialogue louder or reducing background noise without needing extra processing.
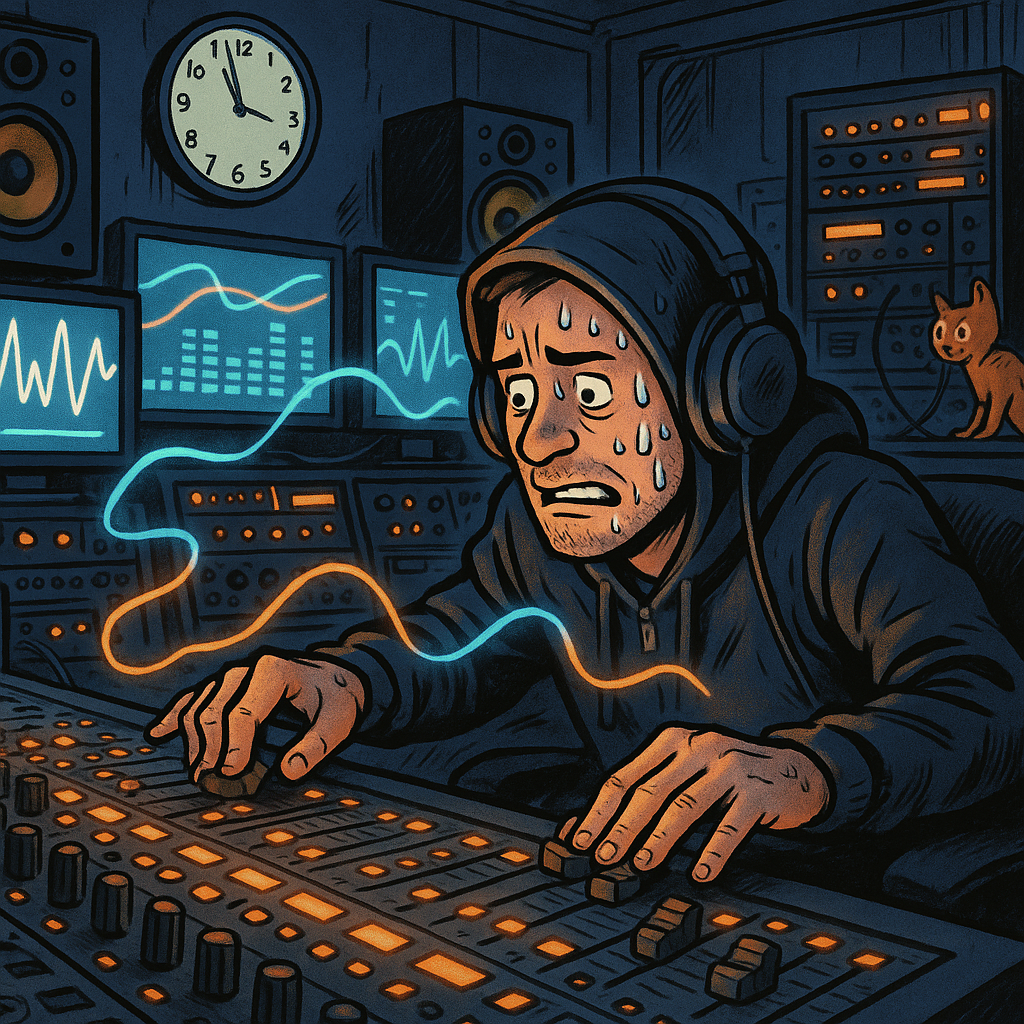
This method has been used in every TV series, movie, and album since the 1970s. Before that, the mix teams would choreograph the entire mix and perform volume moves as the film played. Talk about high pressure!
4. Understand Gates & Expanders
Tool 4: Gates and Expanders
Gates and expanders do not remove noise—they control dynamics by reducing volume when a sound falls below a certain threshold.
A common mistake is thinking that gates “clean” noise. They don’t. The noise will drop dramatically when the volume is below the set threshold but will still rise with dialogue when it becomes louder the threshold, creating a distracting “pumping” effect.
Gates and expanders are rarely used for dialogue. Instead, they work best for drums and percussive elements.
Recommended tool:
FabFilter Pro-G
Pro-Tip: Use with caution—improper gating on your actors can clip important dialogue.
5. EQ: The Workhorse of Sound Editing
Tool 5: EQ (Equalization)
EQ is often the most effective tool for cleaning up problem frequencies.
How to use EQ for noise control:
Cut low rumbles from HVAC noise or distant traffic
Remove electrical hums from lights or equipment
Reduce harsh frequencies in dialogue
Recommended tools:
FabFilter Pro Q-3
FabFilter Pro Q-4 (Powerful, but still has some bugs)
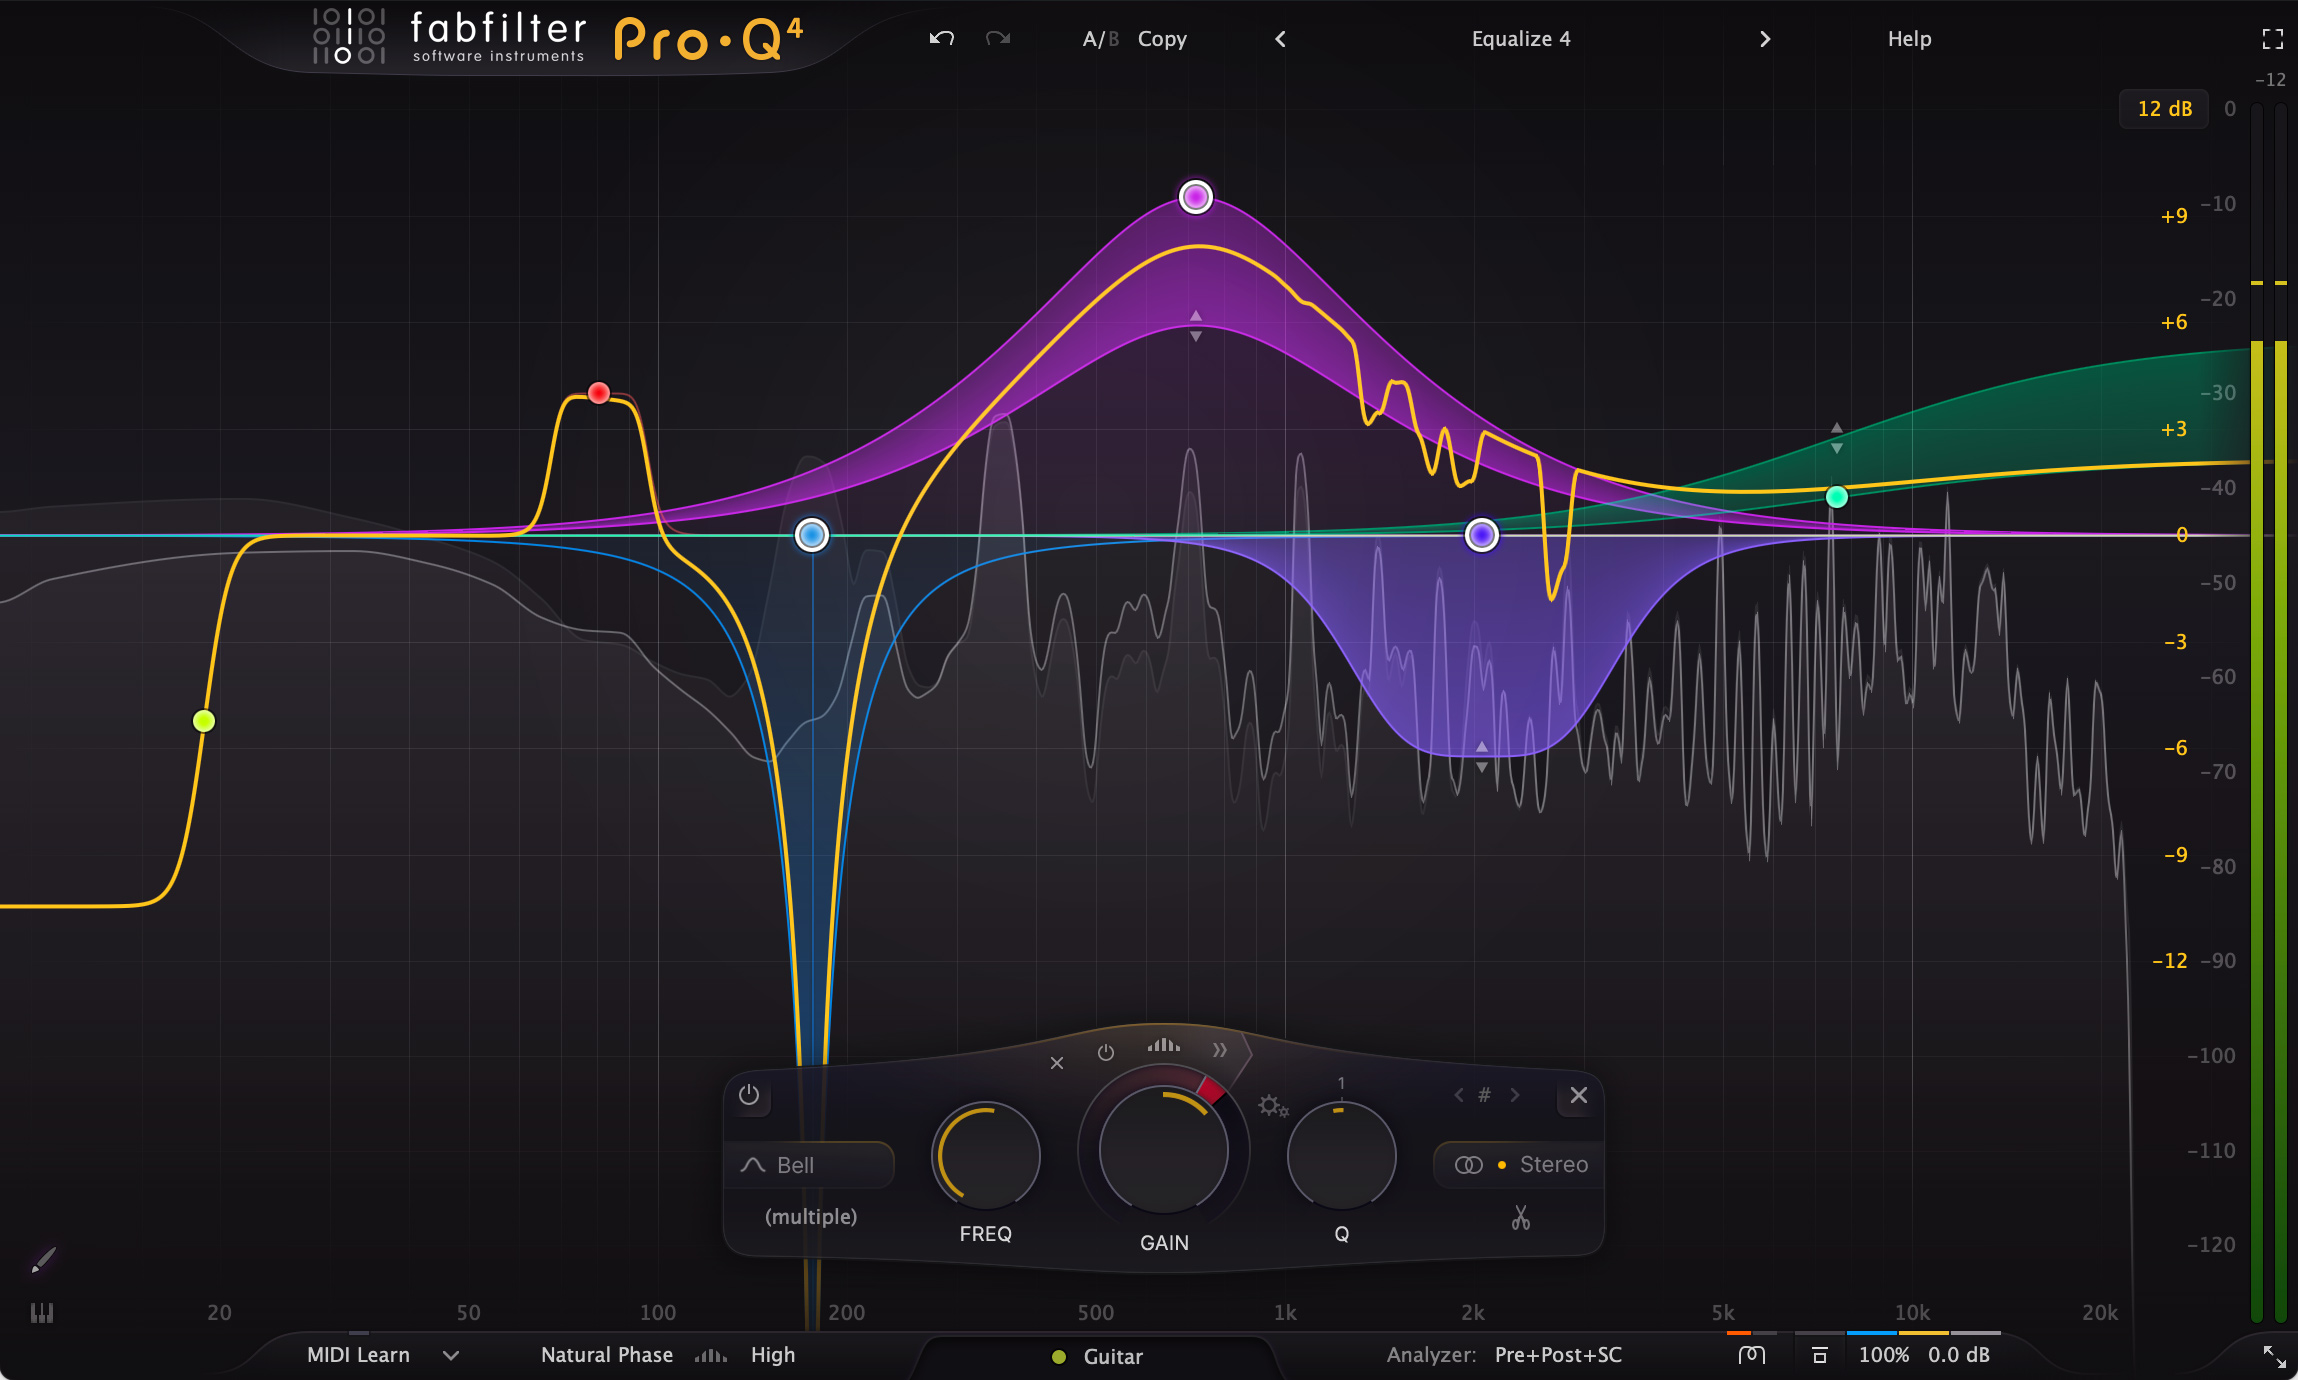
Many sound mixers can clean an entire film without using noise reduction—just proper EQ. It just depends on how much time you have. ;)
6. Multiband Dynamics for Targeted Noise Control
Tool 6: Multiband Gates
Multiband gates combine an EQ and a gate, allowing you to control noise in specific frequency ranges without affecting everything else.
For example, if a scene has a low-frequency rumble, you can isolate just that range and reduce it while leaving the rest of the dialogue intact.
Recommended tool:
FabFilter Pro-MB
Multiband gates have a sibling called a multiband compressor. This allows for frequency specific compression. It's a secret weapon for many dialogue mixers, used to tame dialogue peaks in the midrange.
7. Noise Reduction: The Game Changer
Tool 7: Noise Reduction
Noise reduction has been around since the 1960s and has evolved into cutting-edge AI-powered tools that surgically remove unwanted sounds.
Top Noise Reduction Tools & What They Do
iZotope RX – The all-in-one noise reduction tool. Can fix almost any audio issue but requires a separate standalone app for advanced features.
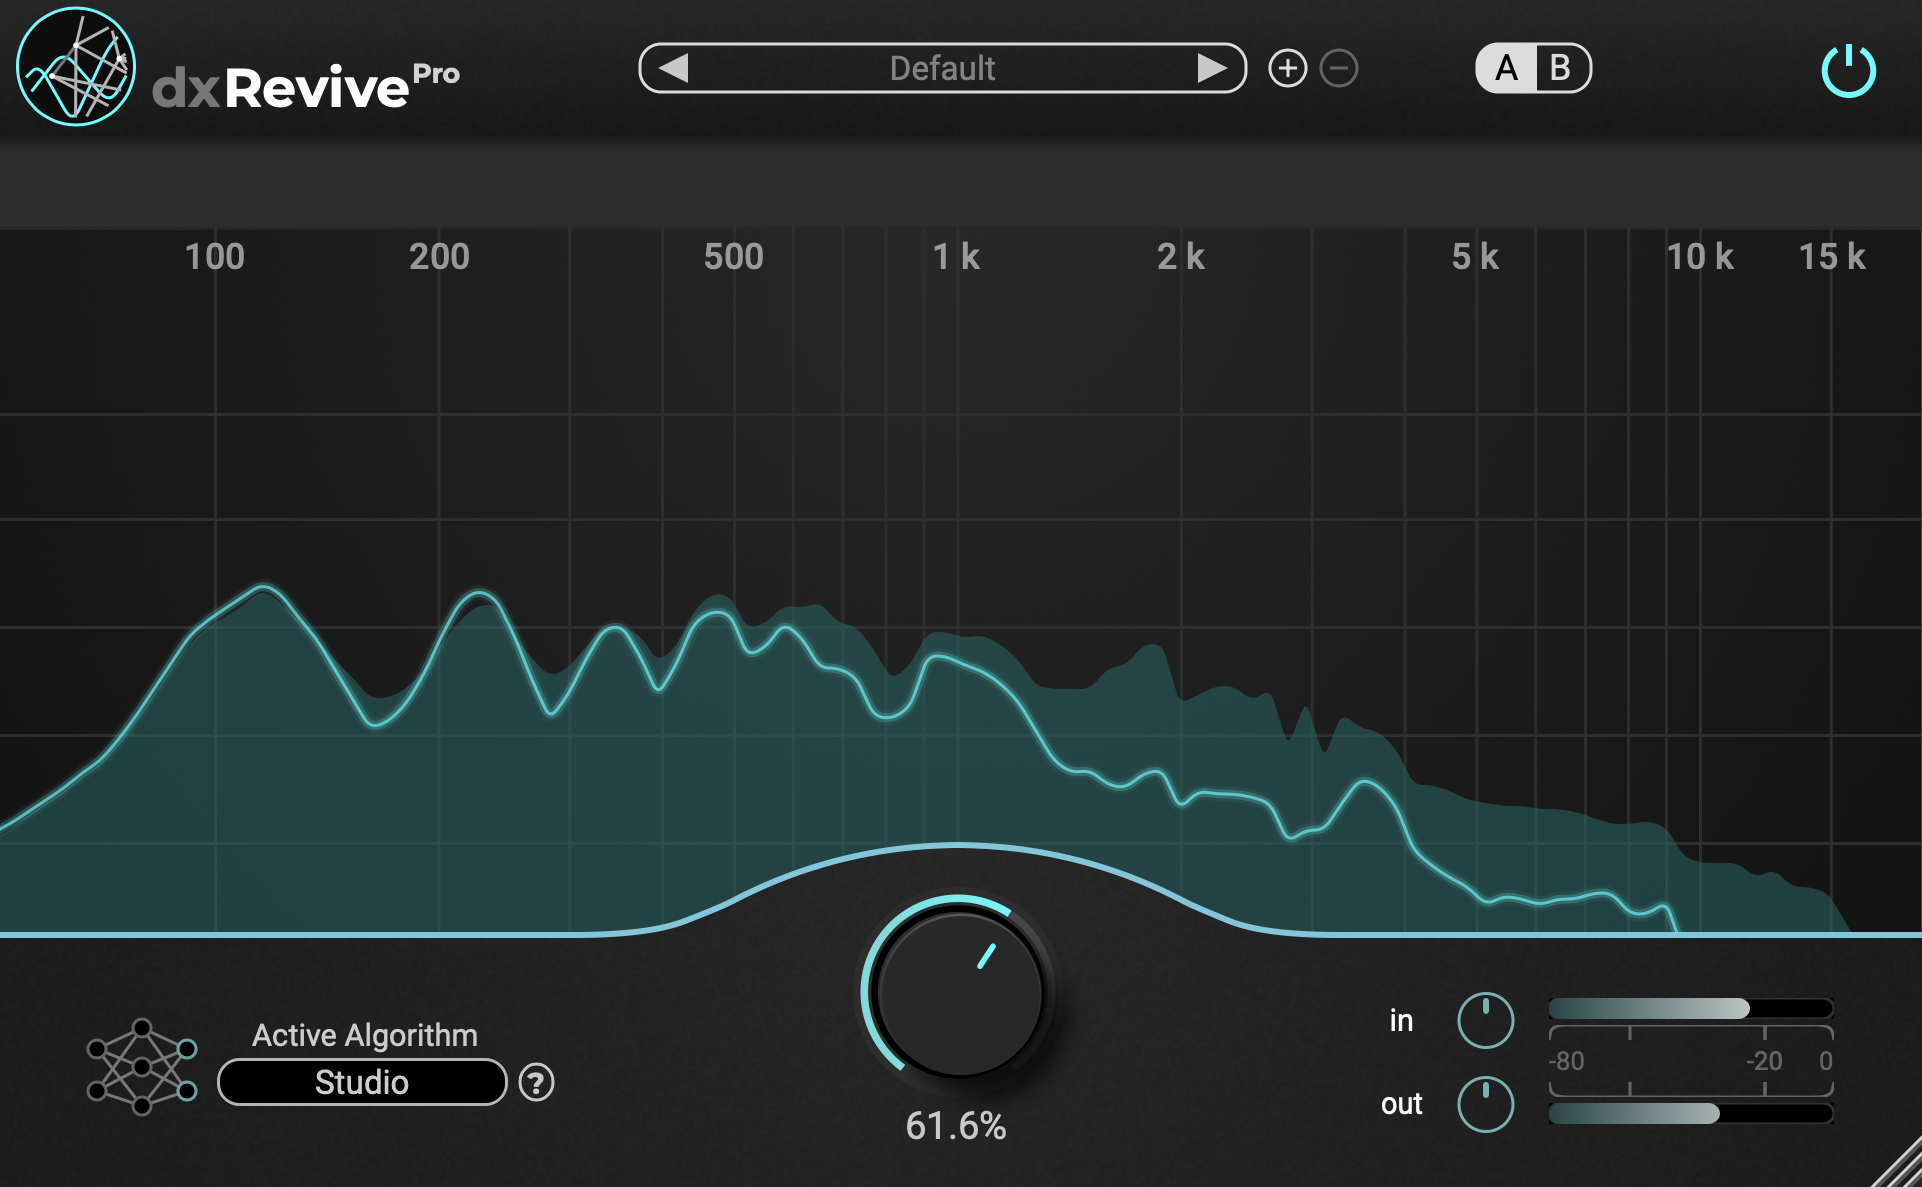
Accentize DxRevive Pro – Perfect for reducing reverb and improving poor-quality audio.
Hush – Simple, three sliders, powerful results. Ideal for cleaning up whispers recorded in noisy environments.
Supertone Clear – One of the best for fast, high-quality noise and reverb removal.
Pro-Tip: Don’t go overboard with noise reduction—too much can make dialogue sound like it was recorded underwater.
Bonus: AI & the Future of Sound
Tool 8: AI-Driven Sound Editing
AI is changing the game, and like any tool, it’s all about how you use it. Here are three standout AI-based audio tools:
ElevenLabs – The granddaddy of AI voice replication. Not perfect, but great for fixing small dialogue issues.
Supertone Shift – Flawless real-time vocal processing but requires a performance input.
Nvidia Fugatto (Not yet released) – AI that allows you to process audio using text prompts, like making a performance sound more emotional.

Final Thoughts: Take it One Step at a Time
Now that you know the tools available, start small.
Use the free tools first—volume automation and EQ go a long way.
Try trials before committing—noise reduction plugins can be pricey.
Take your time—sound mixing isn’t about fixing everything at once. Small, precise changes will give you the best results.
And most importantly—don’t be afraid to ask for help. Whether it’s me or someone on my team, we’re always happy to chat.
Until then, happy mixing!
Andy

